Applying for admission
Applicants create their own account, then fill a ten-step form at their own pace. Nothing is lost between sittings — the form saves as a draft and shows a completion percentage — but it cannot be submitted until every required document is attached.
Completing and submitting an application to study at CUofSS.
ApplicantsAdmissions Officer (to advise)
- An email address you can open
- Your certificates
- Two referees
- Evidence of the application fee payment
A submitted application that appears in the Admissions Workspace.
Before you start
Read the guidelines page first. It is public, it is written for each intake, and it lists the documents that intake requires. Applications fail far more often for a missing document than for a weak record.

apply.cuo-ss.…/before-you-apply, also reachable
from View Application Guidelines & Requirements at the top of the form
itself.- An email address you can actually open — the account is verified by email, and every decision is sent there.
- Your certificates, scanned or photographed clearly.
- Two referees: names, titles, phone numbers, addresses, and their signed endorsement letter.
- A passport photograph, JPG or PNG, under 2 MB.
- Proof that you paid the application fee — the deposit slip, transfer reference or mobile-money transaction ID, plus a scan or photo of the receipt (PDF, JPG or PNG, under 5 MB).
Creating your account
- Go to
https://apply.cuo-ss.sektechsoftsolutions.co.ke. - Press Create an applicant account below the login button.
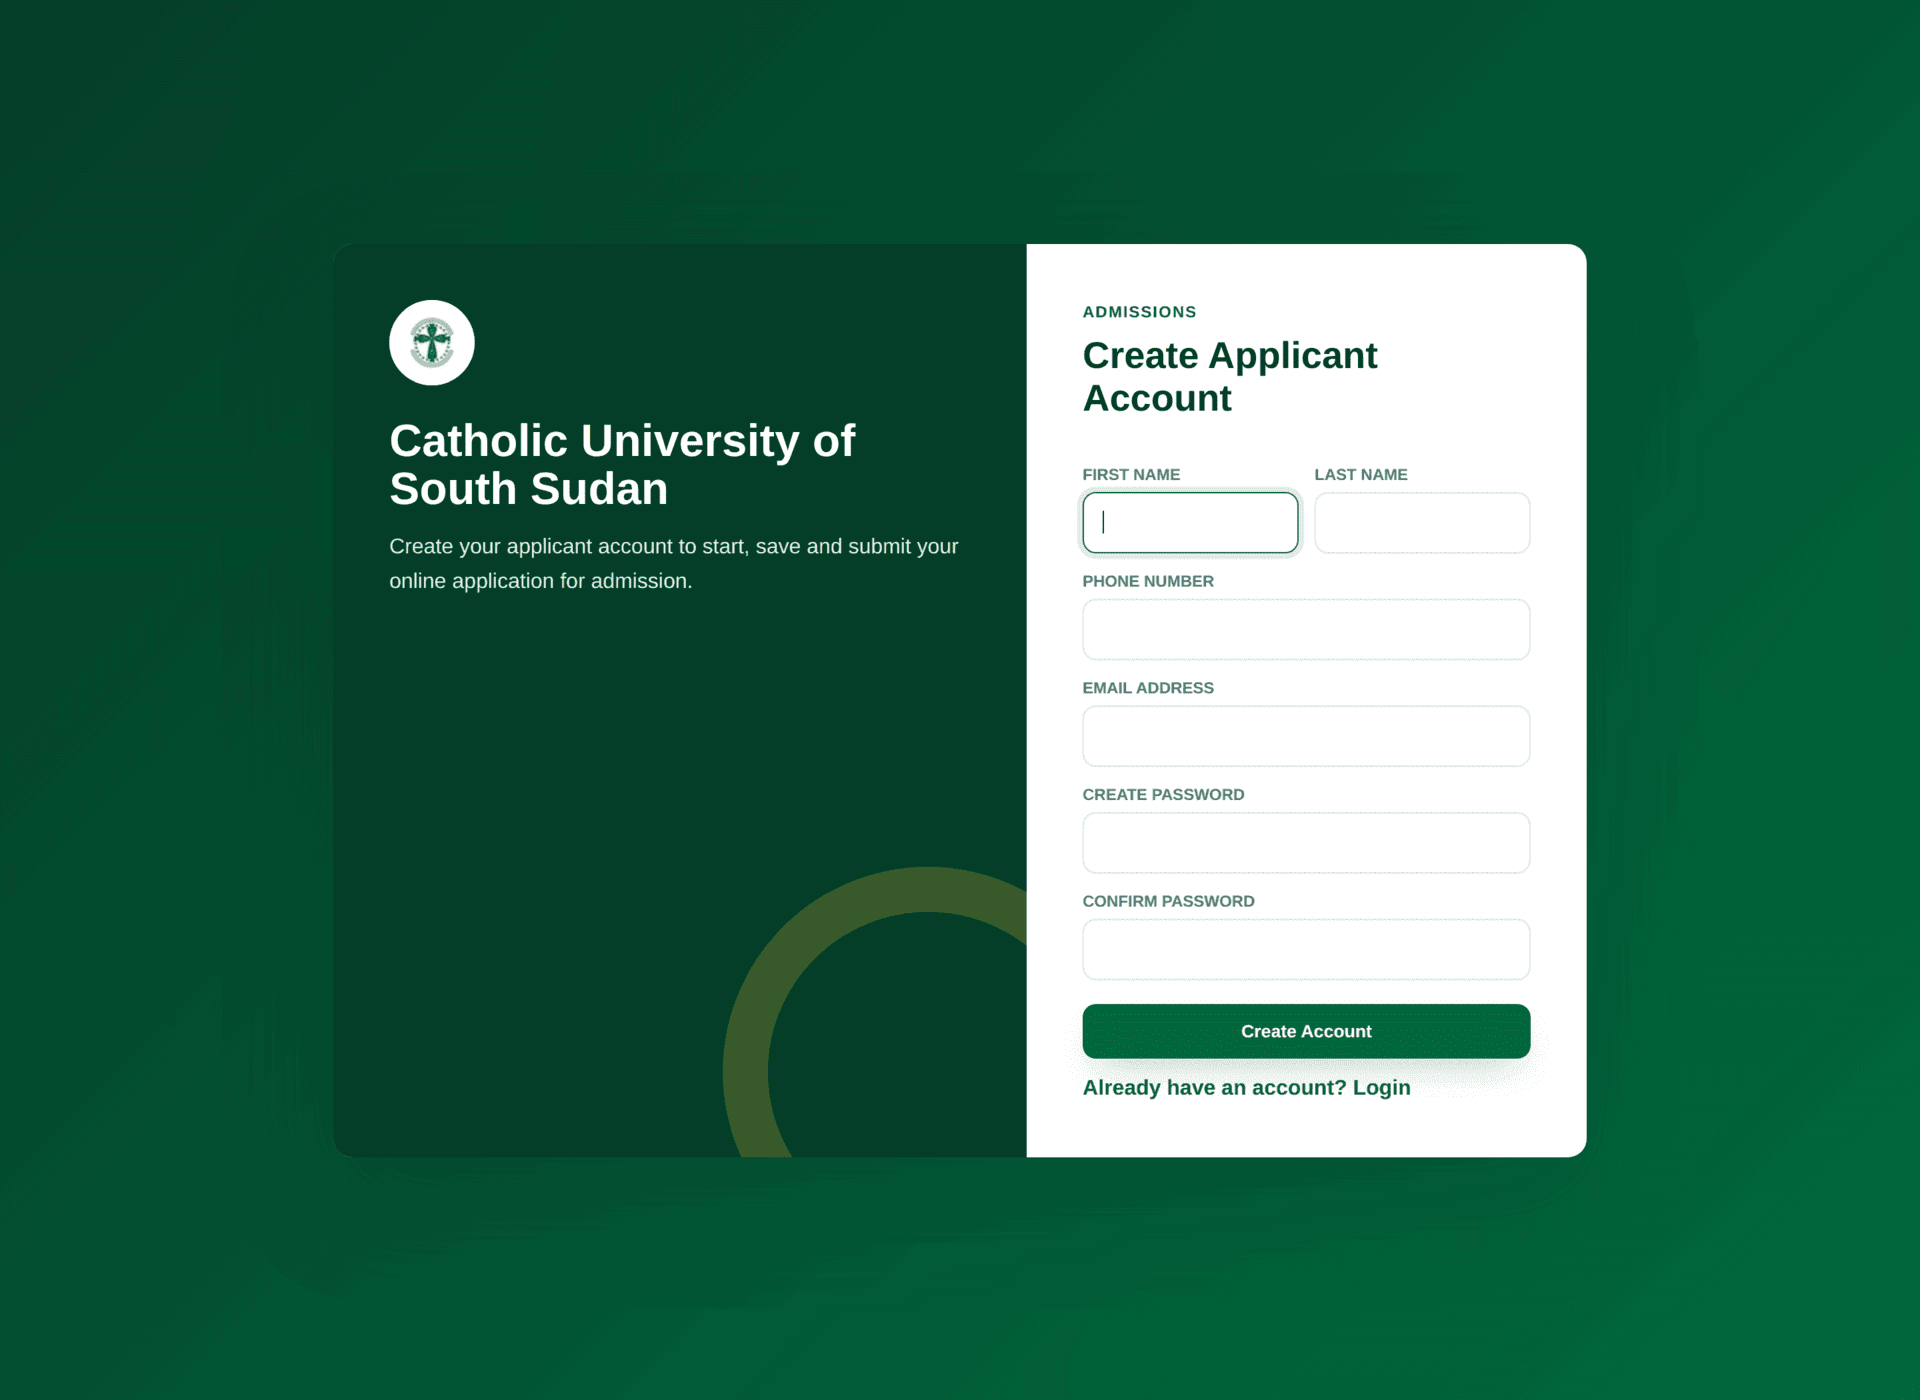
Registration. The university does not create applicant accounts — you create your own. - Fill the form and submit it. Check your inbox — and your spam folder — for the verification message, and follow the link in it.
- Sign back in at the same address with that email and your password.
If you register a second time with a different email address, you get a second, empty application. Your first draft still exists but you will not be able to see it while signed in as the second account, and the Admissions Office will see two part-finished applications from one person. If you have lost access to your first email address, contact the Admissions Office rather than registering again.
The ten steps
The form opens on your dashboard and remembers where you left off. The band across the top names the intake you are applying to, the dates the window is open, and the fee — check it is the intake you meant.
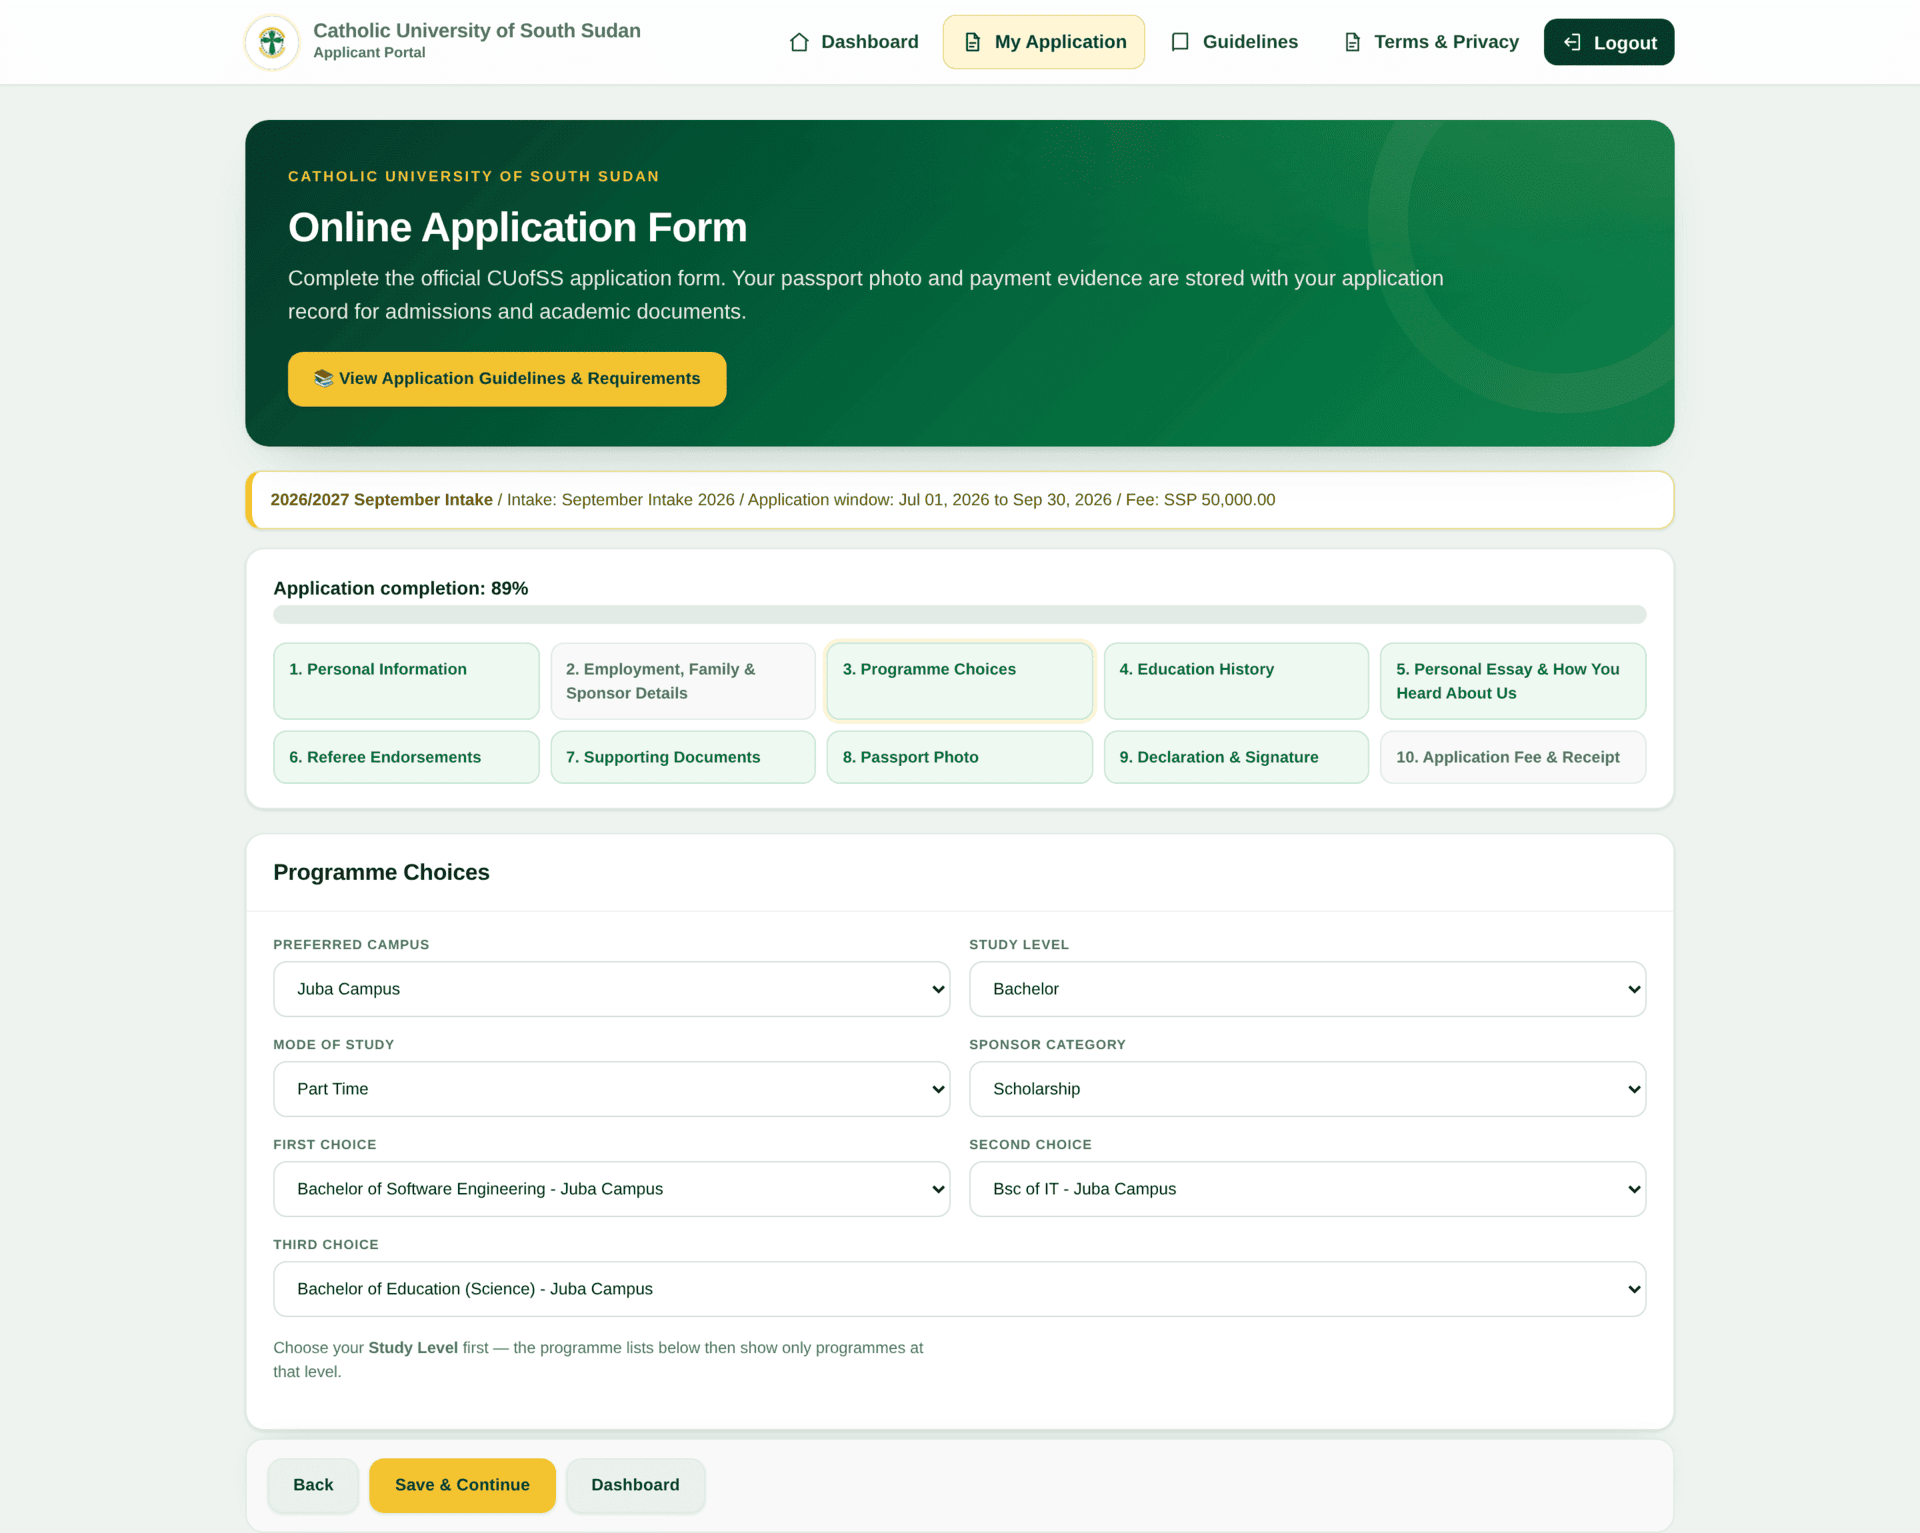
Save & Continue saves the step you are on and moves to the next. Jumping between steps with the numbered buttons does not save — press Save & Continue before you jump, or you will lose what you typed.
1 · Personal Information
Names, date of birth, gender, citizenship, place and state of origin, county, religious denomination, blood group, home diocese, marital status, telephone, email, ID type and number, address.
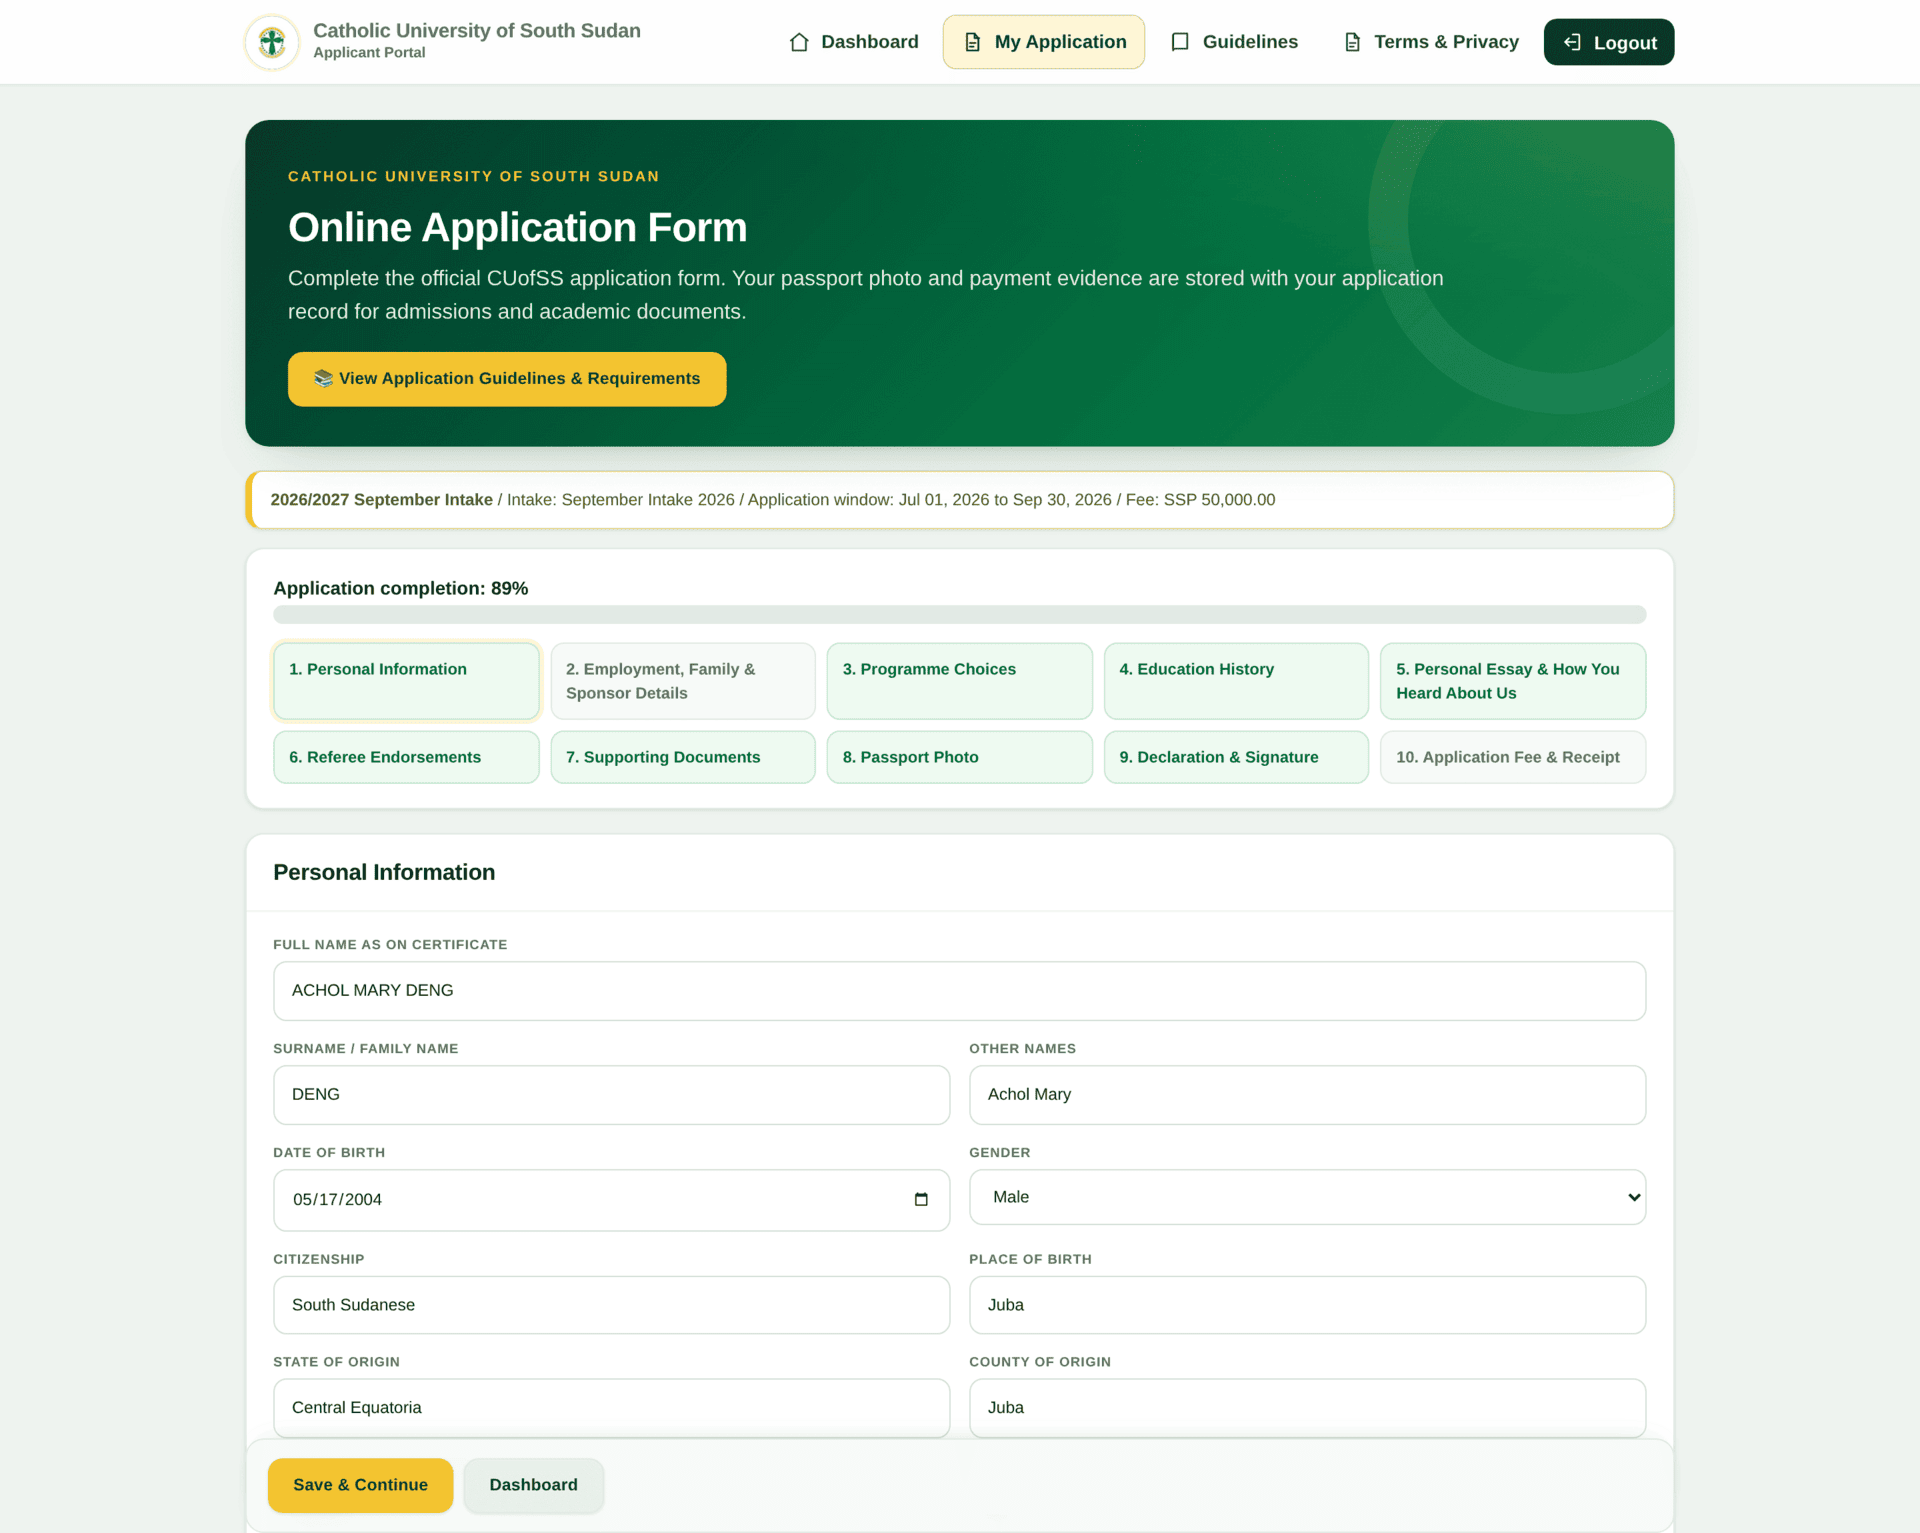
The first field, Full name as on certificate, is the name that will be printed on your transcript and your degree certificate. Type it exactly as it appears on your school certificate, including the order of the names. Correcting it after graduation means reissuing documents.
2 · Employment, Family & Sponsor Details
Three Yes/No questions, each of which opens or hides a section. Answer No to Are you employed? and the employer fields disappear and are not required. The same for family details and for a sponsor — the form itself says that answering No means the sponsor document is not asked for either.
3 · Programme Choices
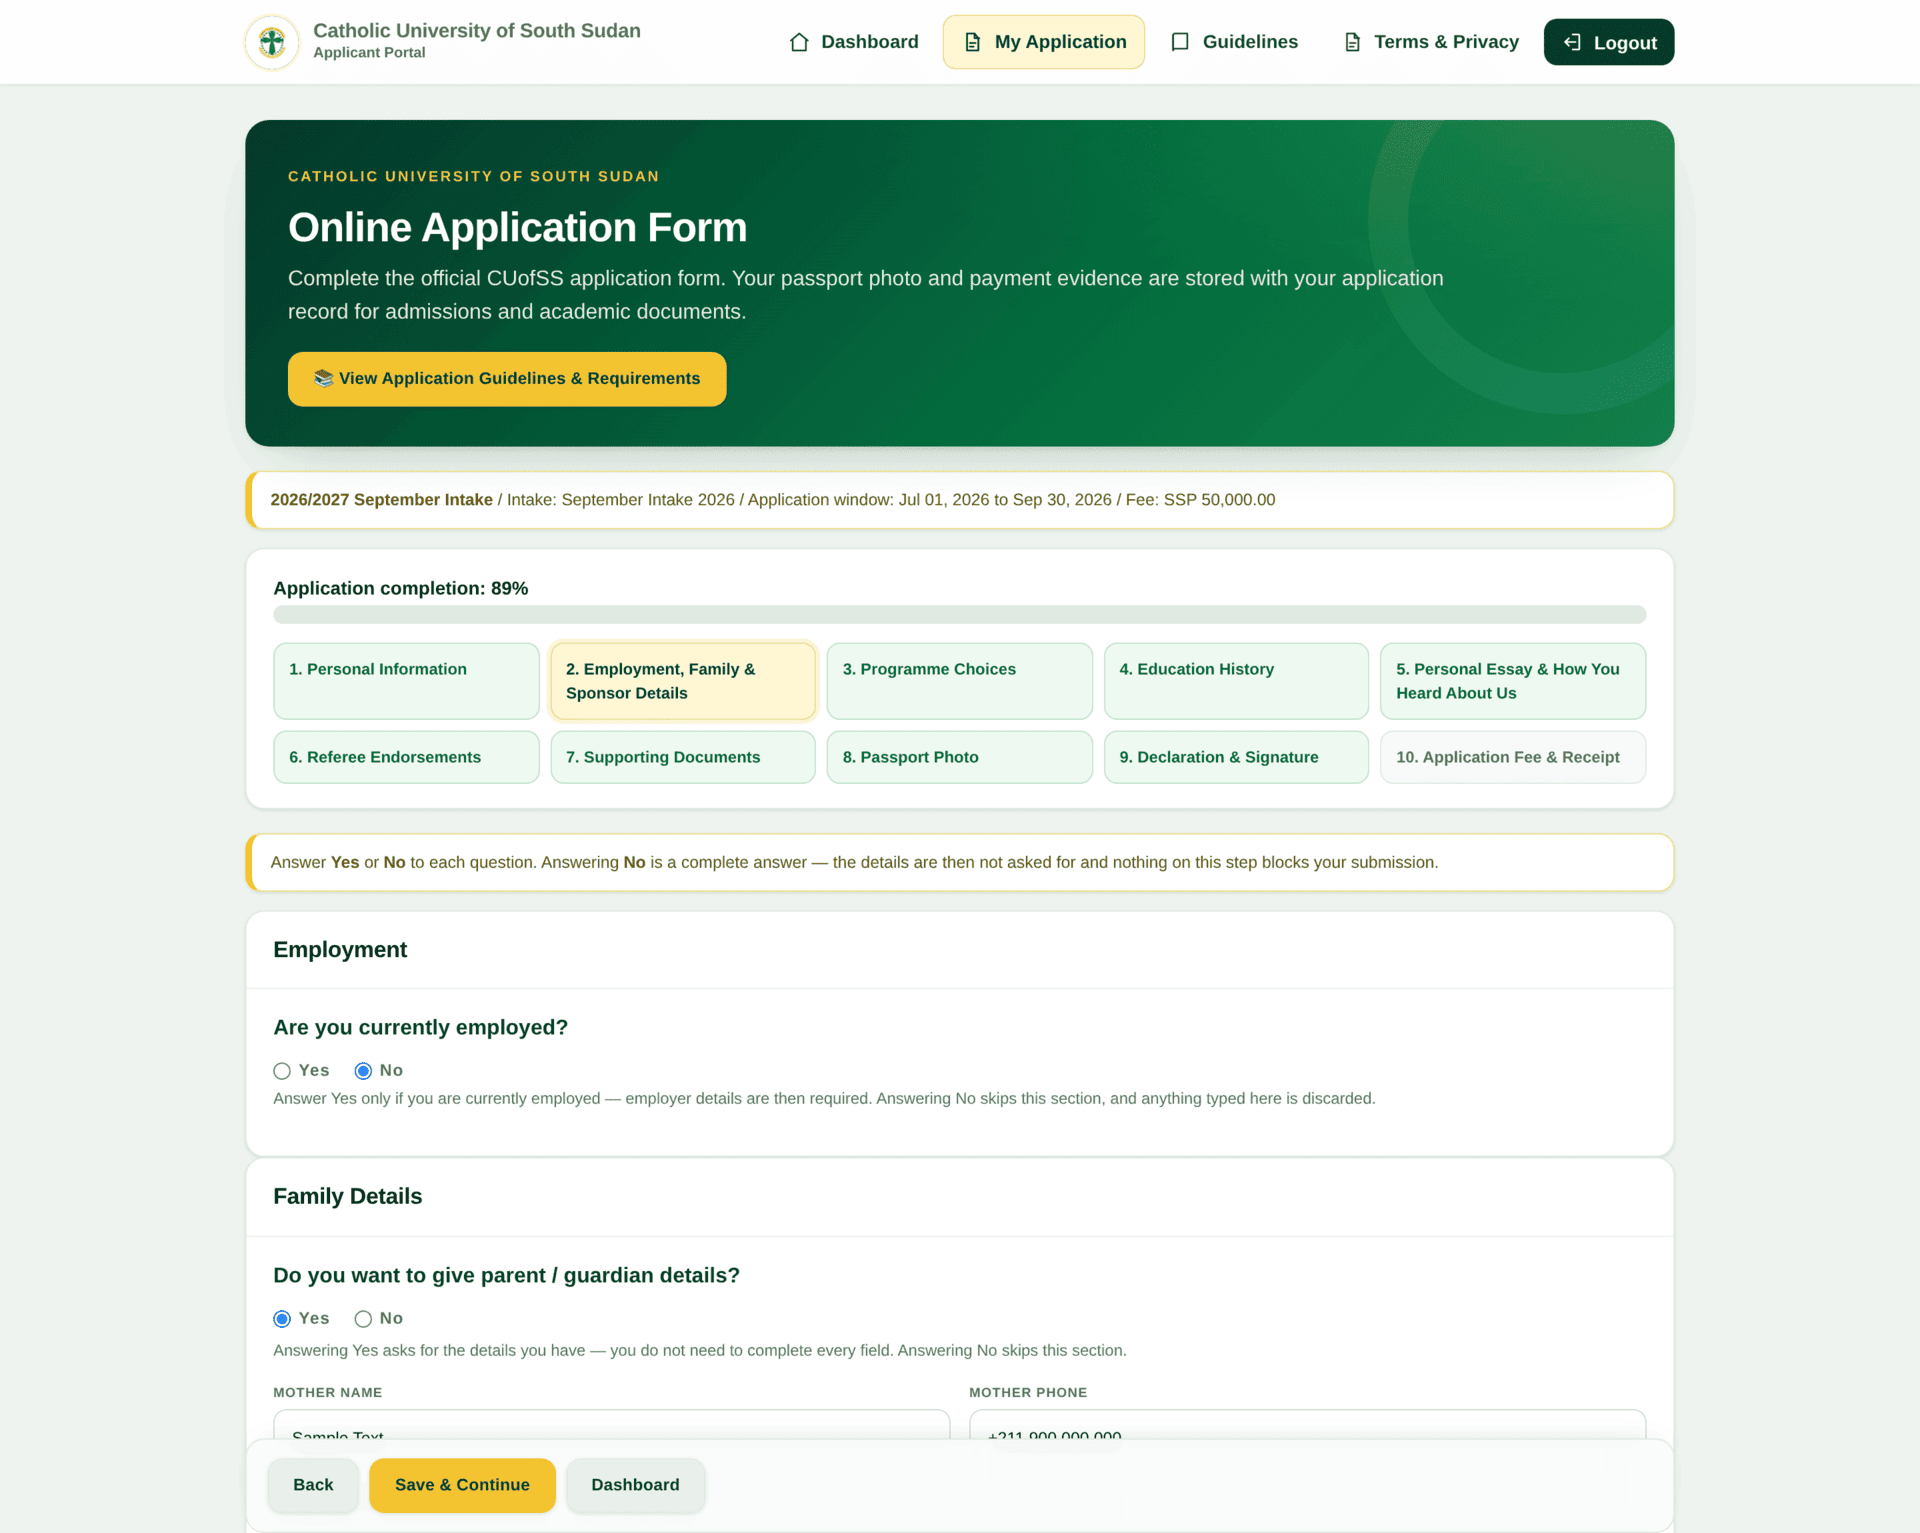
Preferred campus, study level, mode of study, sponsor category, then up to three programme choices in order of preference.
The form says so, and it matters: the three choice dropdowns are filtered by the level you pick. If a programme you expect is missing from the list, you have almost certainly left Study Level on the wrong value.
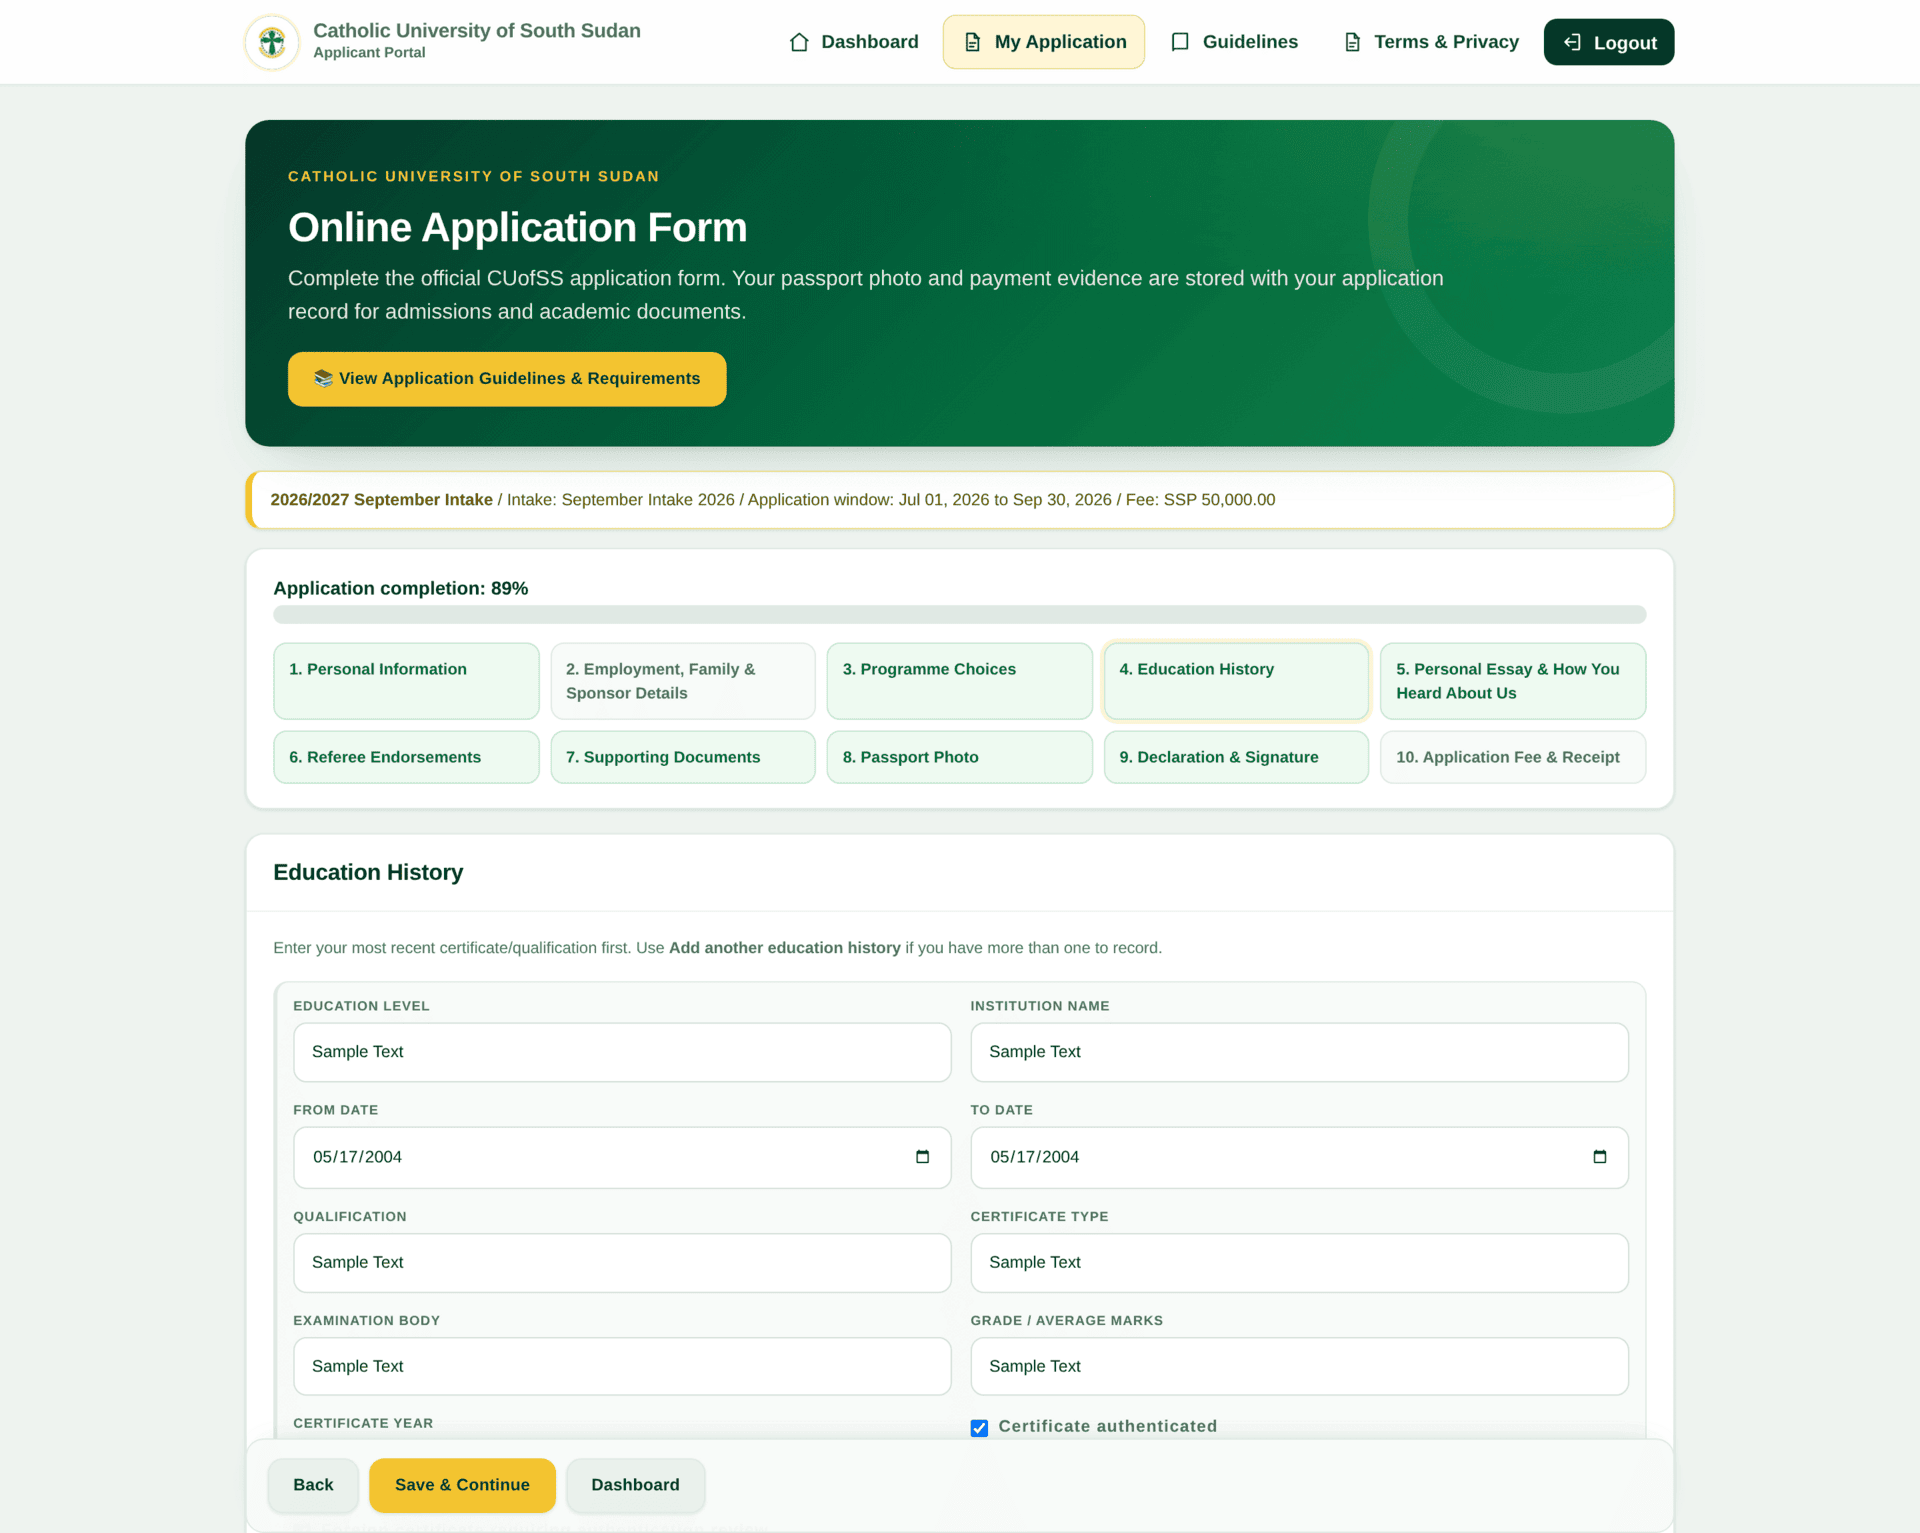
4 · Education History
One block per qualification: level, institution, dates from and to, qualification, certificate type, examination body, grade obtained and certificate year, plus two tick boxes for Certificate authenticated and Foreign certificate requiring authentication review.
5 · Personal Essay & How You Heard About Us
Your essay, then a dropdown recording where you heard about the university. The form states plainly that the marketing question is not part of your admission assessment and may be left blank. The essay is assessed; write it yourself, because the declaration at step 9 asks you to confirm that you did.
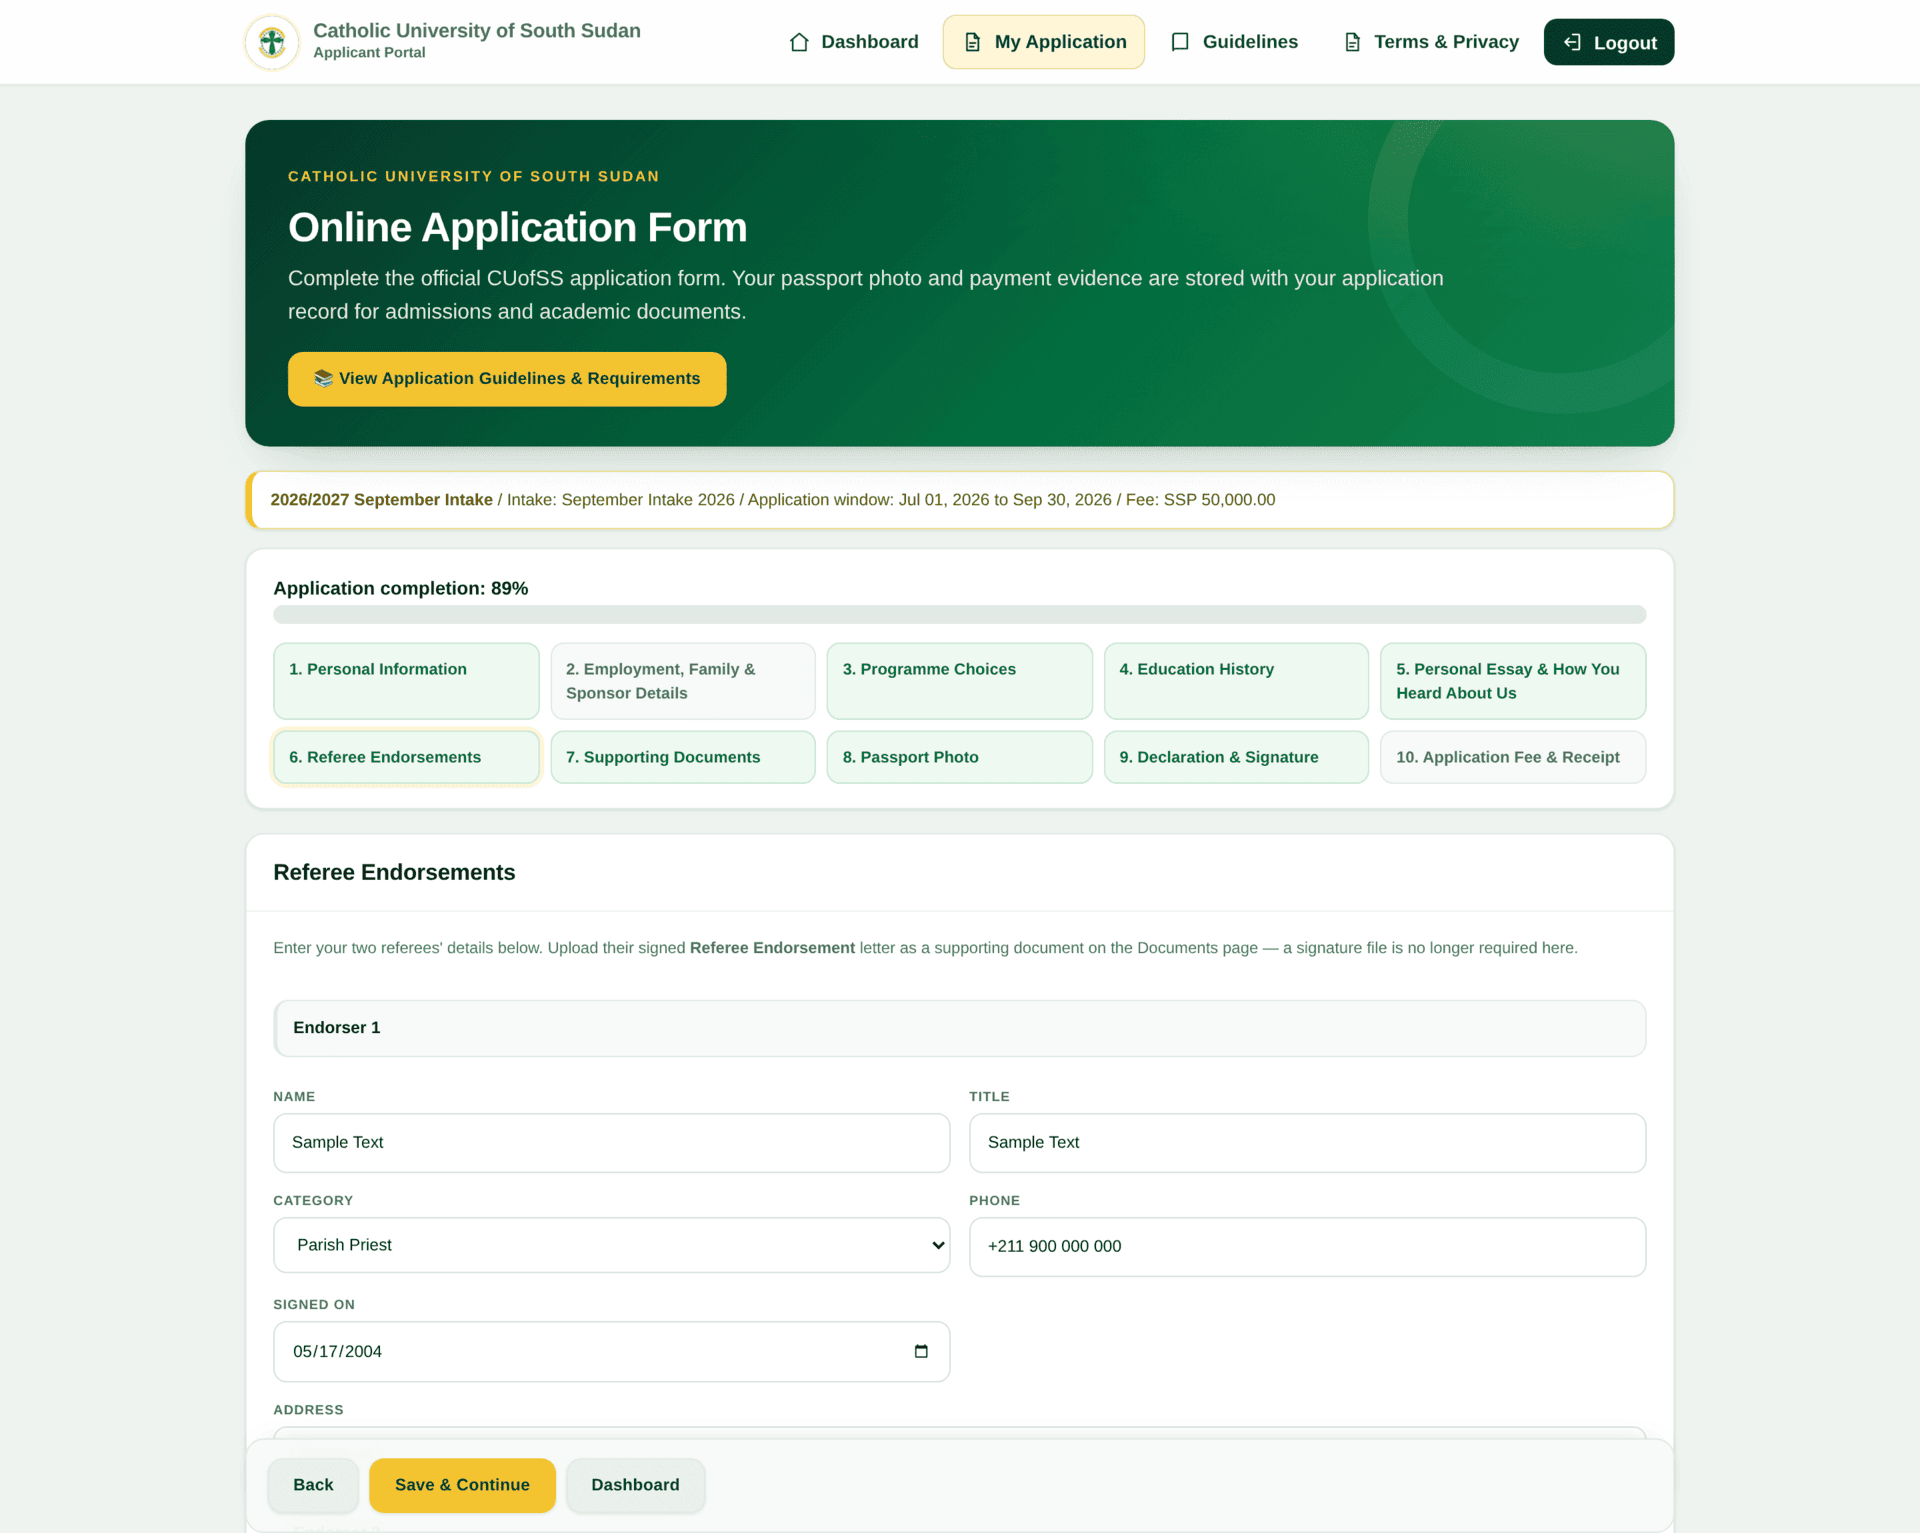
6 · Referee Endorsements
Two referees: name, title, category, phone, date and address for each. The signed endorsement letter itself is not uploaded here — it goes on the Documents step. This changed; no signature file is required on this page any more.
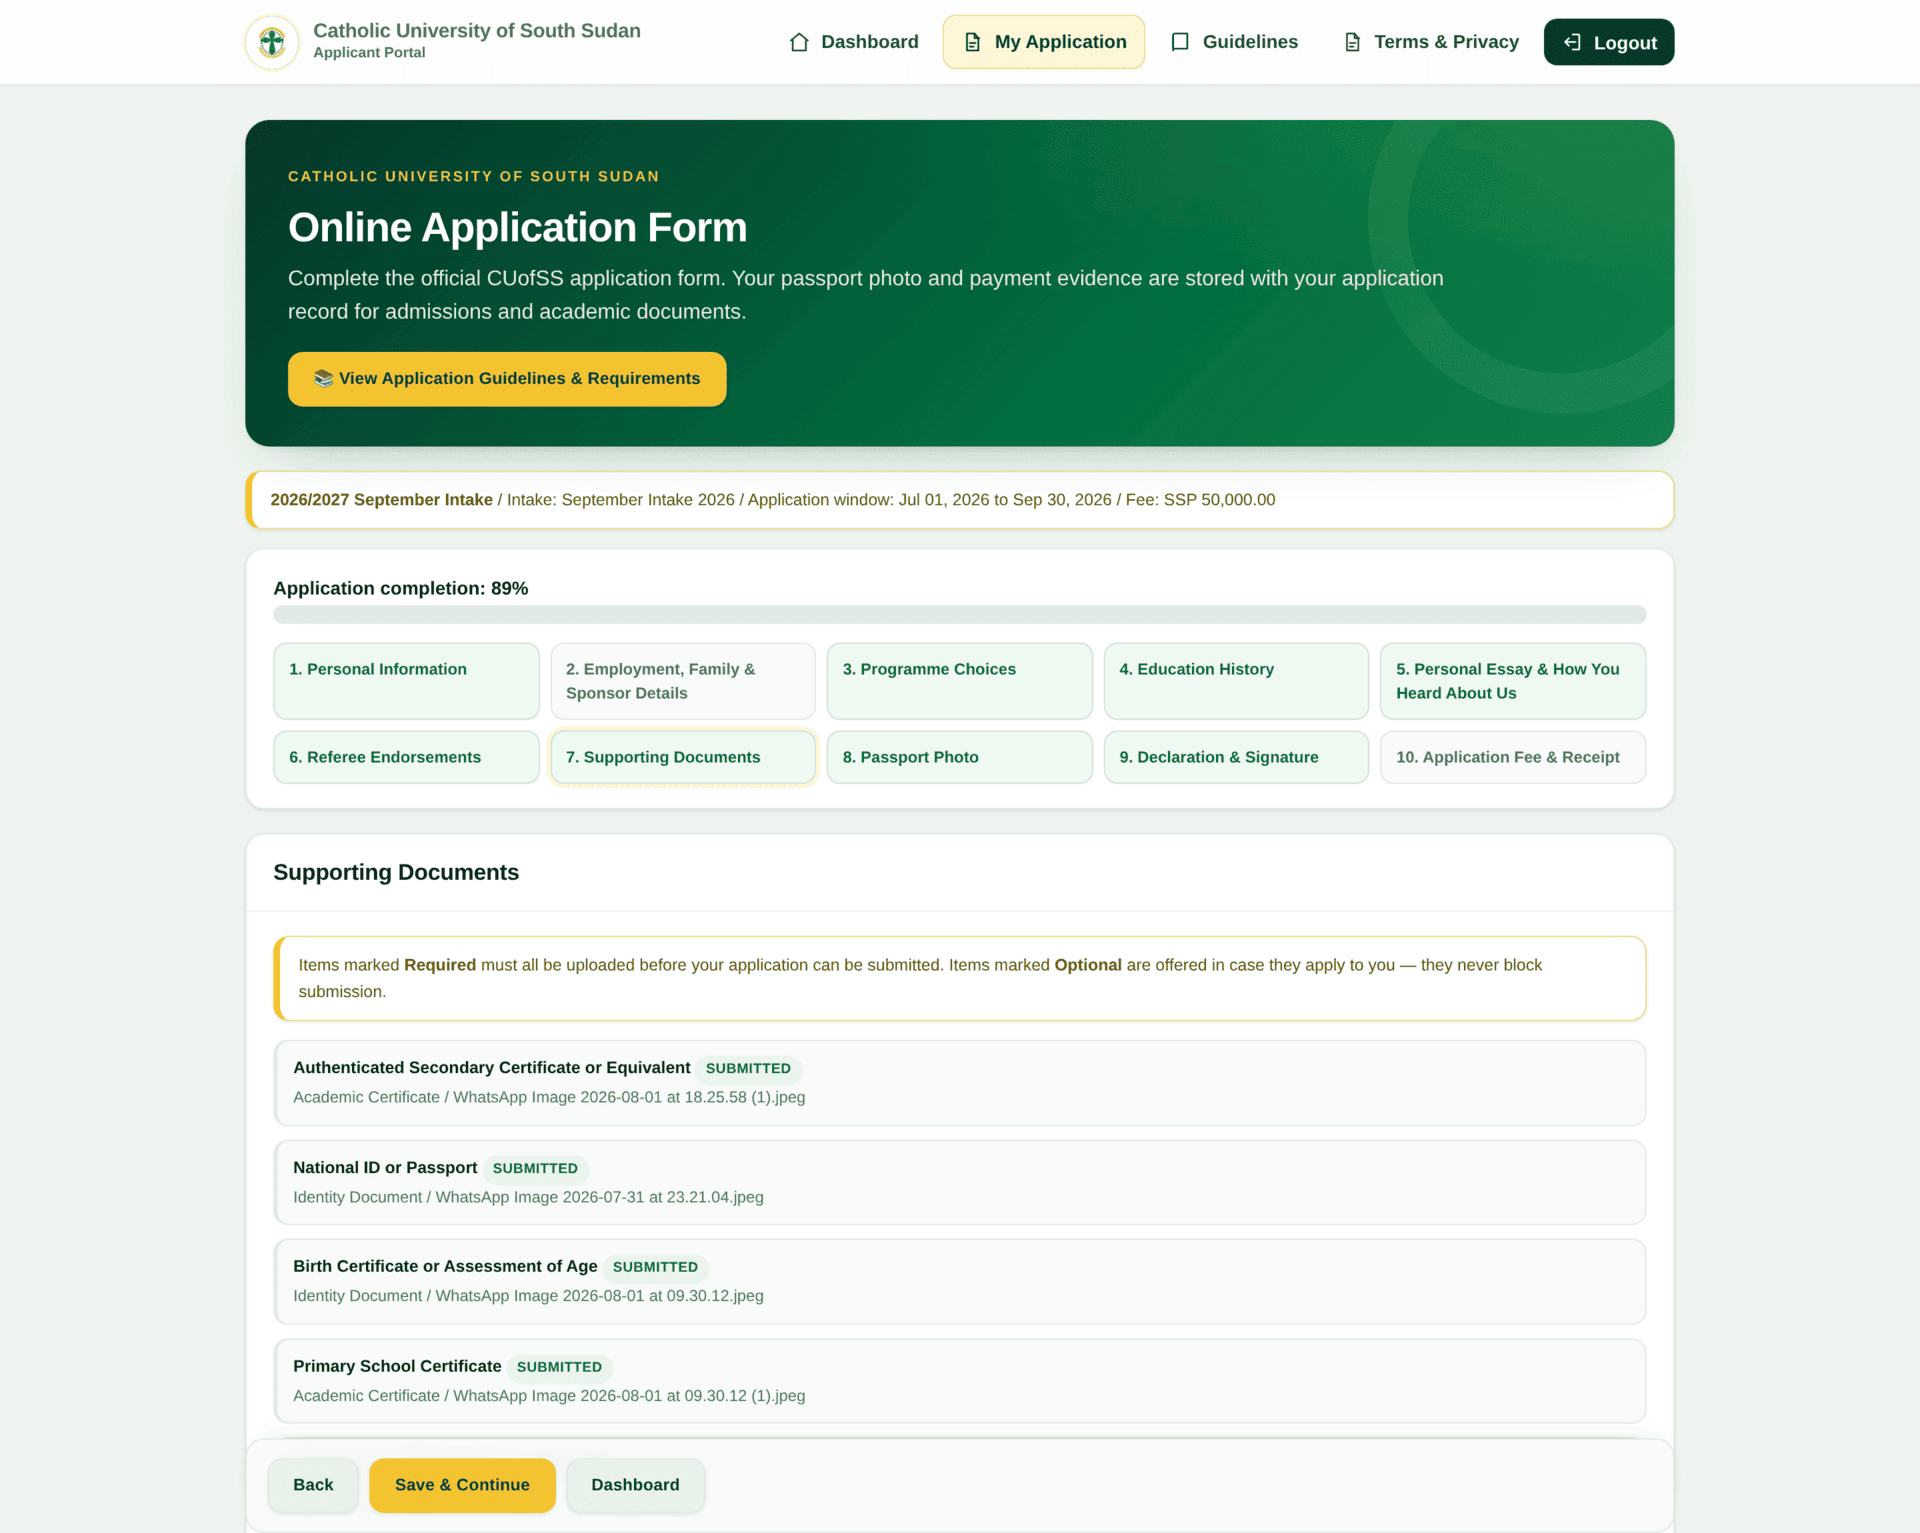
7 · Supporting Documents
This step does not upload anything itself. It tells you to save the draft and then use the Documents page, and it states the rule that catches most applicants: you will not be able to submit until every Required item is uploaded.
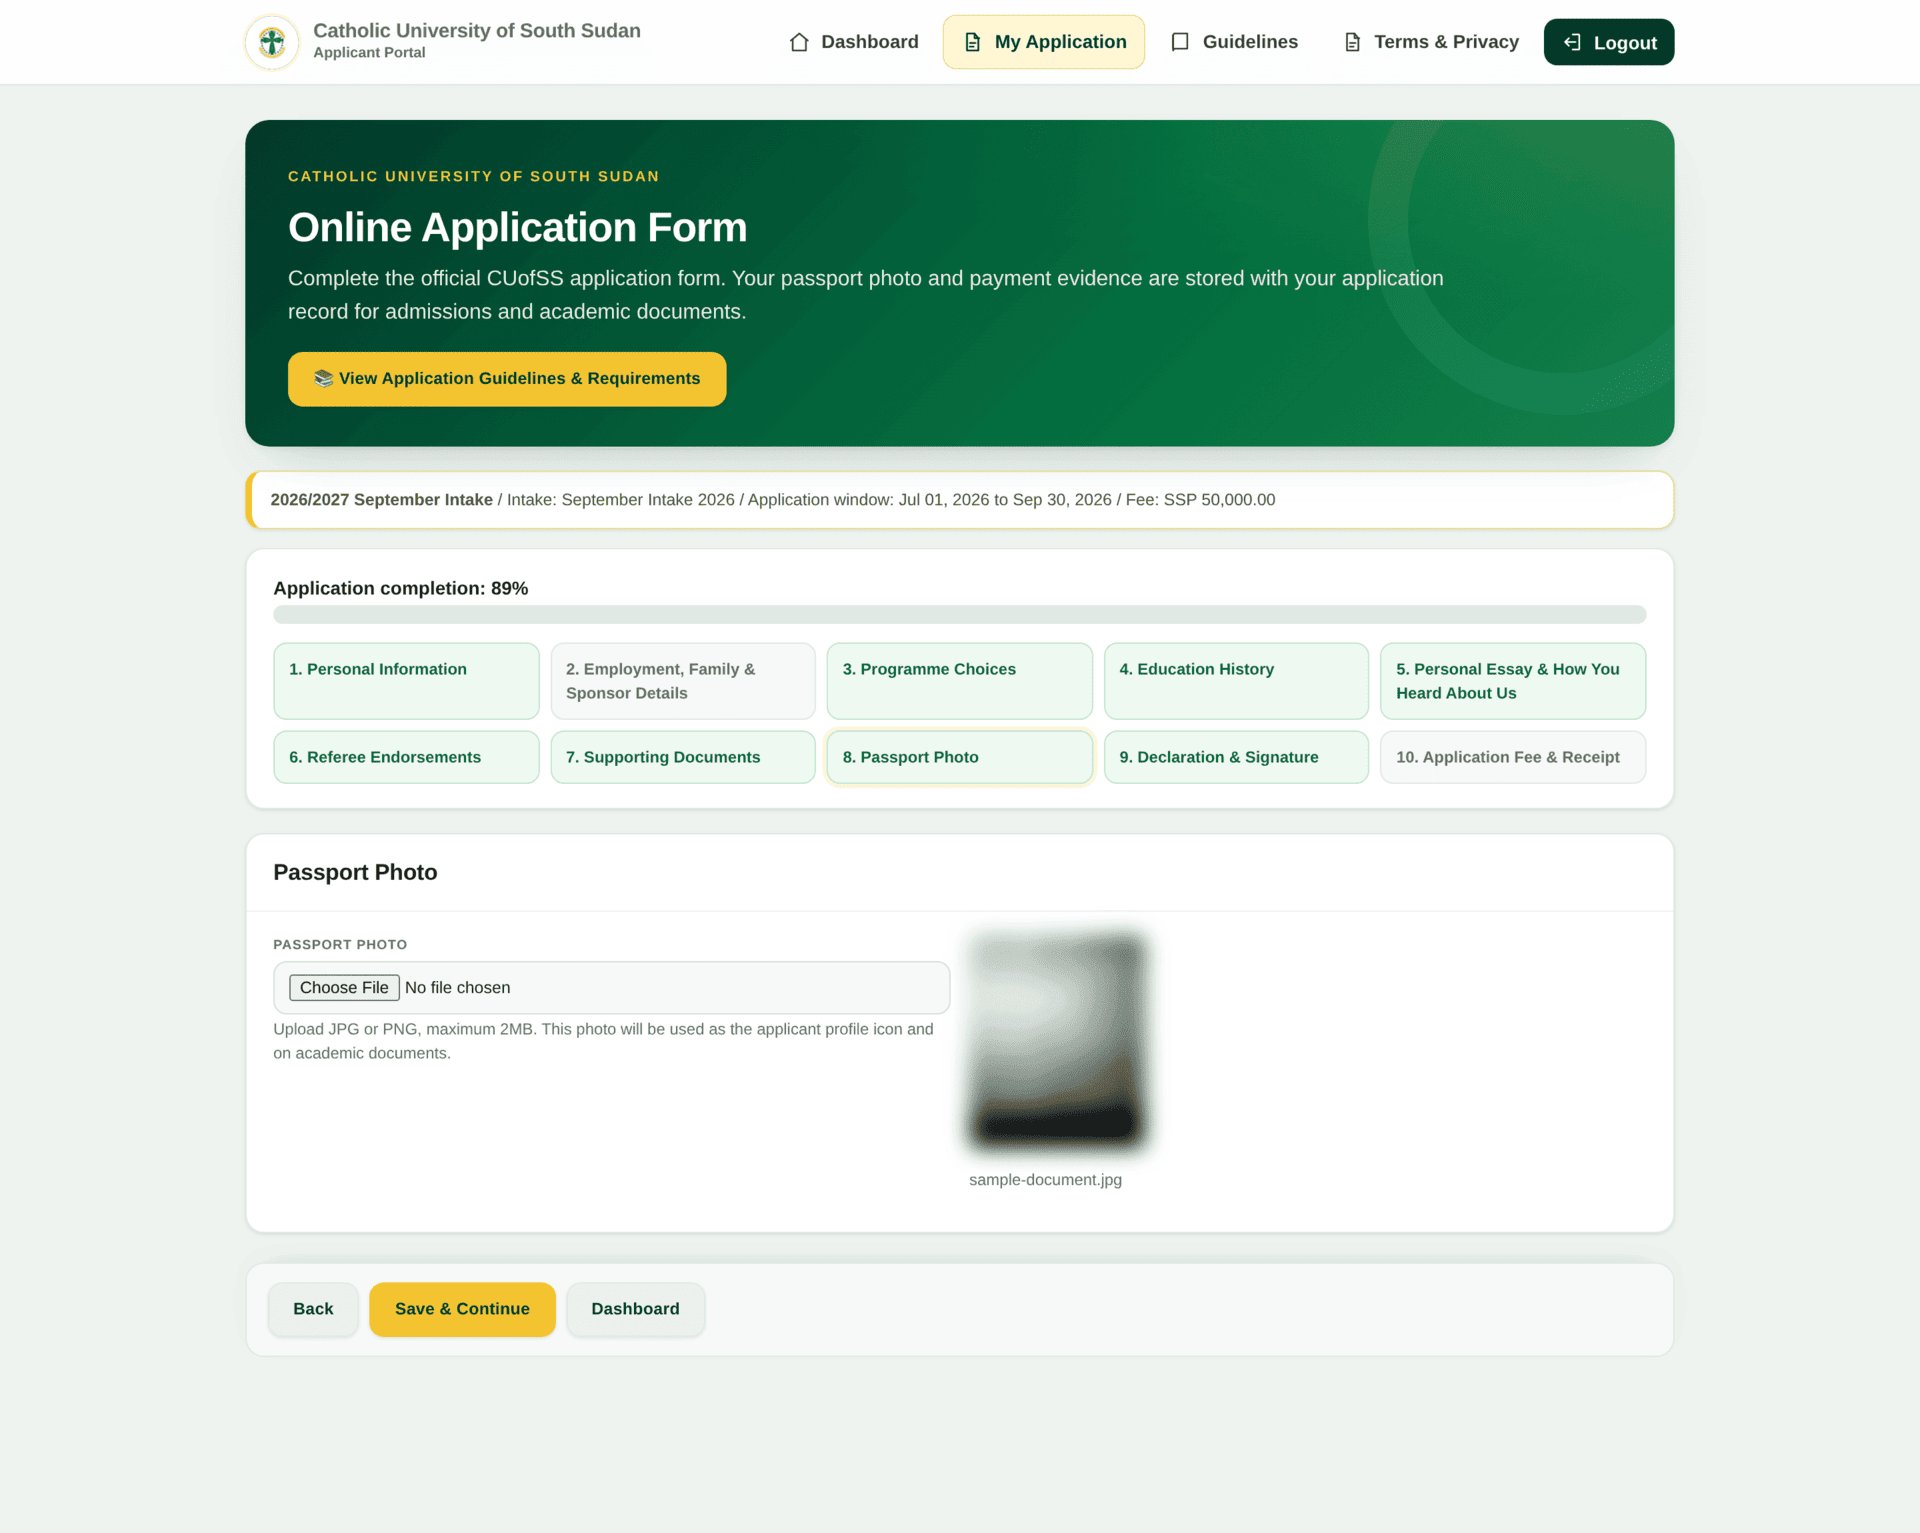
8 · Passport Photo
JPG or PNG, maximum 2 MB. This photo becomes your profile picture and is printed on academic documents, so use a plain passport-style photograph — not a screenshot, not a group photo.
9 · Declaration & Signature
A tick box declaring that the information is accurate and that the essay is your own work, then your name typed as a signature, and the date.
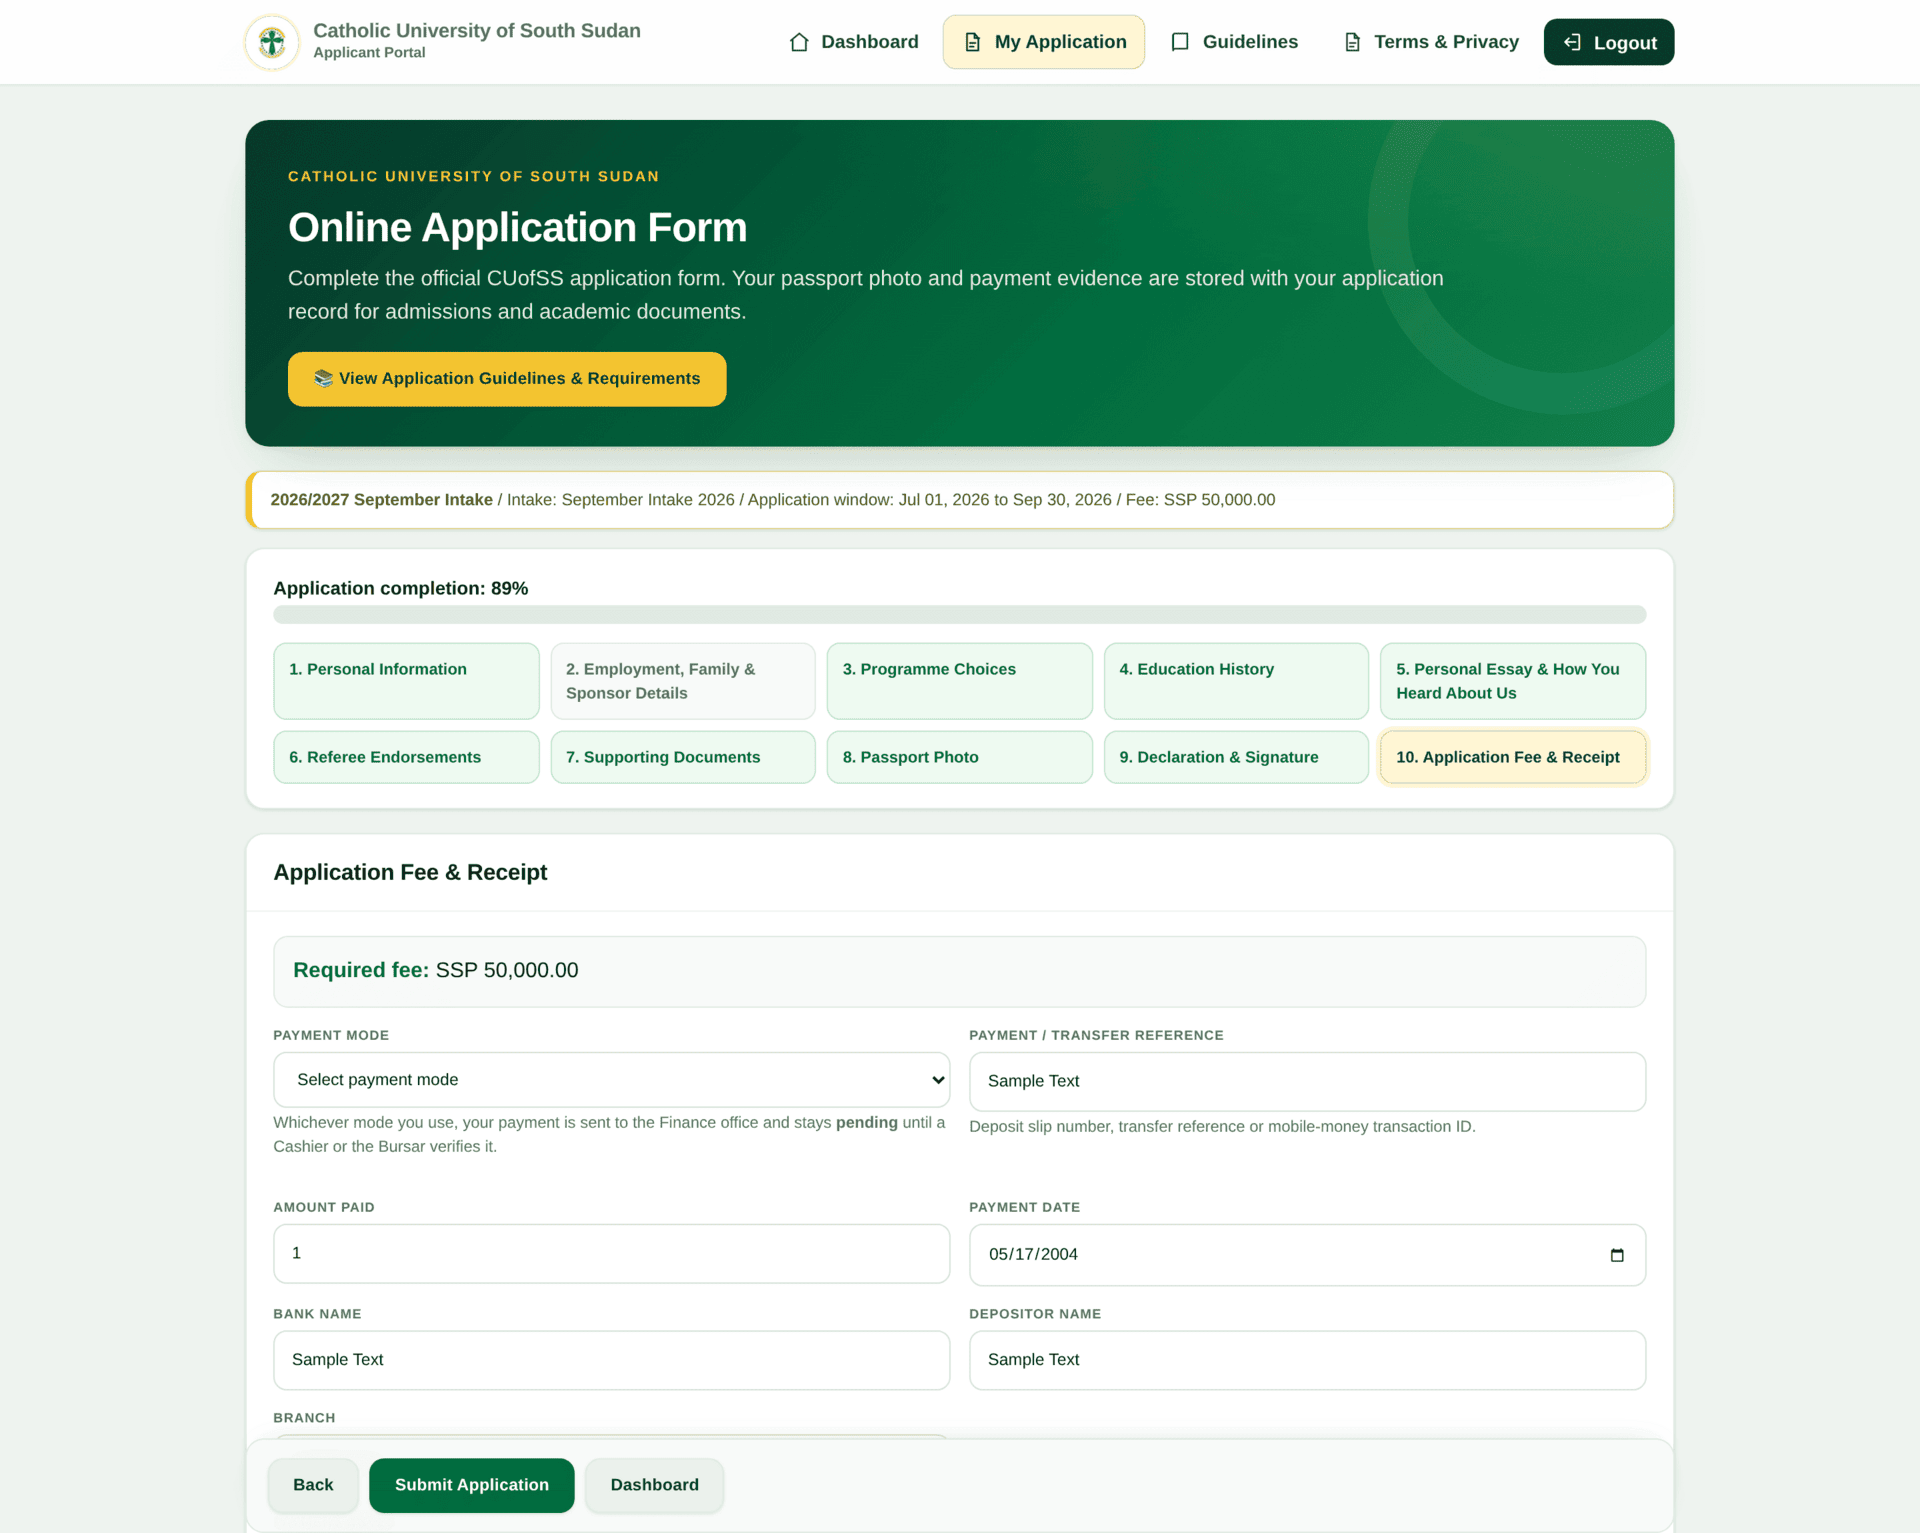
10 · Application Fee & Receipt
Payment method, reference, amount, date, bank, depositor name, branch, any notes, and the receipt file (PDF, JPG or PNG, maximum 5 MB).
Worked example
A school leaver applying for the September intake
Achol finished secondary school this year and wants to study Information Technology at Juba Campus. She has her certificate, a passport photo on her phone, and she paid the application fee at the bank this morning.
| Register | Email achol.deng@example.com, sets a password, verifies from her inbox |
| Step 1 | Full name as on certificate ACHOL MARY DENG — exactly as the certificate reads. Surname DENG, other names Achol Mary, born 2004-05-17, citizenship South Sudanese, home diocese Archdiocese of Juba |
| Step 2 | Employed? No. Family details? Yes — mother's name and phone. Sponsor? No, she is self-funding, so no sponsor document is required |
| Step 3 | Campus Juba Campus; Study Level Bachelor first; mode Full Time; first choice Bsc of IT, second Bachelor of Software Engineering |
| Step 4 | Most recent qualification first: South Sudan Certificate of Secondary Education, her school, 2022–2025, grade obtained, certificate year 2025 |
| Step 5 | Writes the essay herself. Leaves the marketing question blank — it is not assessed |
| Step 6 | Her head teacher and her parish priest, with phone numbers that work |
| Step 7 | Reads the required list, goes to the Documents page, uploads certificate, ID and the signed referee letter |
| Step 8 | Plain passport photograph, 900 KB JPG |
| Step 9 | Ticks the declaration, types Achol Mary Deng, dates it |
| Step 10 | Method Bank deposit, reference the slip number, amount 50,000.00, uploads a photo of the slip |
| Then | Completion reaches 100% and Submit becomes available. After submitting she can still view the application but not edit it |
After you submit
Watch your dashboard and your email. The offices that handle each of those stages, and what they are checking, are described in Admissions office. Once you are admitted and your record is activated, you move to the Student portal — a different address, and you sign in with a student number rather than your email.
| Problem | What it means | What to do |
|---|---|---|
| The Submit button will not activate | At least one Required document is missing | Open the Documents page and look for items marked Required without a file |
| Your programme is not in the choice list | Study Level is set to a different level | Change Study Level, then reopen the choice dropdown |
| You never received the verification email | Wrong address, or it went to spam | Check spam first; if the address was wrong, contact Admissions rather than registering again |
| The fee still shows as pending days later | Payment evidence is verified by hand in the Finance office | Ask Admissions to chase Finance; keep the original slip |
| You cannot edit after submitting | Submission locks the record deliberately | Ask the Admissions Office — they can return an application for correction |